
This is the easiest boxy pouch ever. Once you make one using this method you'll be addicted! I hadn't planned on doing a tutorial on this pouch seeing how it's so easy but I did take a few pics just to show those who are new to this kind of boxiness.
First, sew a boxy pouch the regular way. (see my Lined Zippered Boxy Pouch Tutorial) For this method you can sew the zipper from end to end for outer fabric as well as lining. See? I told you it's easy.
Next, with bags inside out, flip around until the zipper is in the centre.

In the pic above, I have folded the outer fabric in such a way it's halved. Make the folds meet in the centre.(This is the secret of this pouch. If the folds don't meet, the pouch will look squat like) Do the same for the lining.

This is what you should get.

Sew the side seams. A good place to sew would be at the two ends of the zipper. Sew through all the layers.

Turn the bag right side out through the lining and ta da!


The difference between this boxy pouch and the one in Part 1 is the folds at the side are more obvious in this one.

Inside out.
* * *
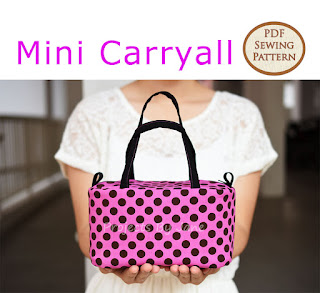
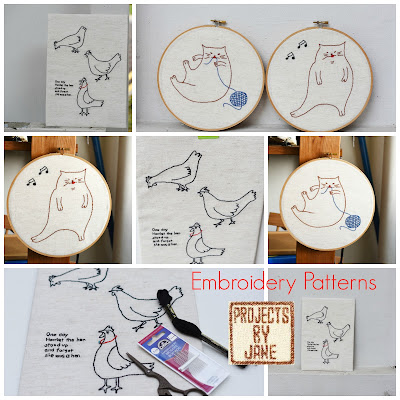
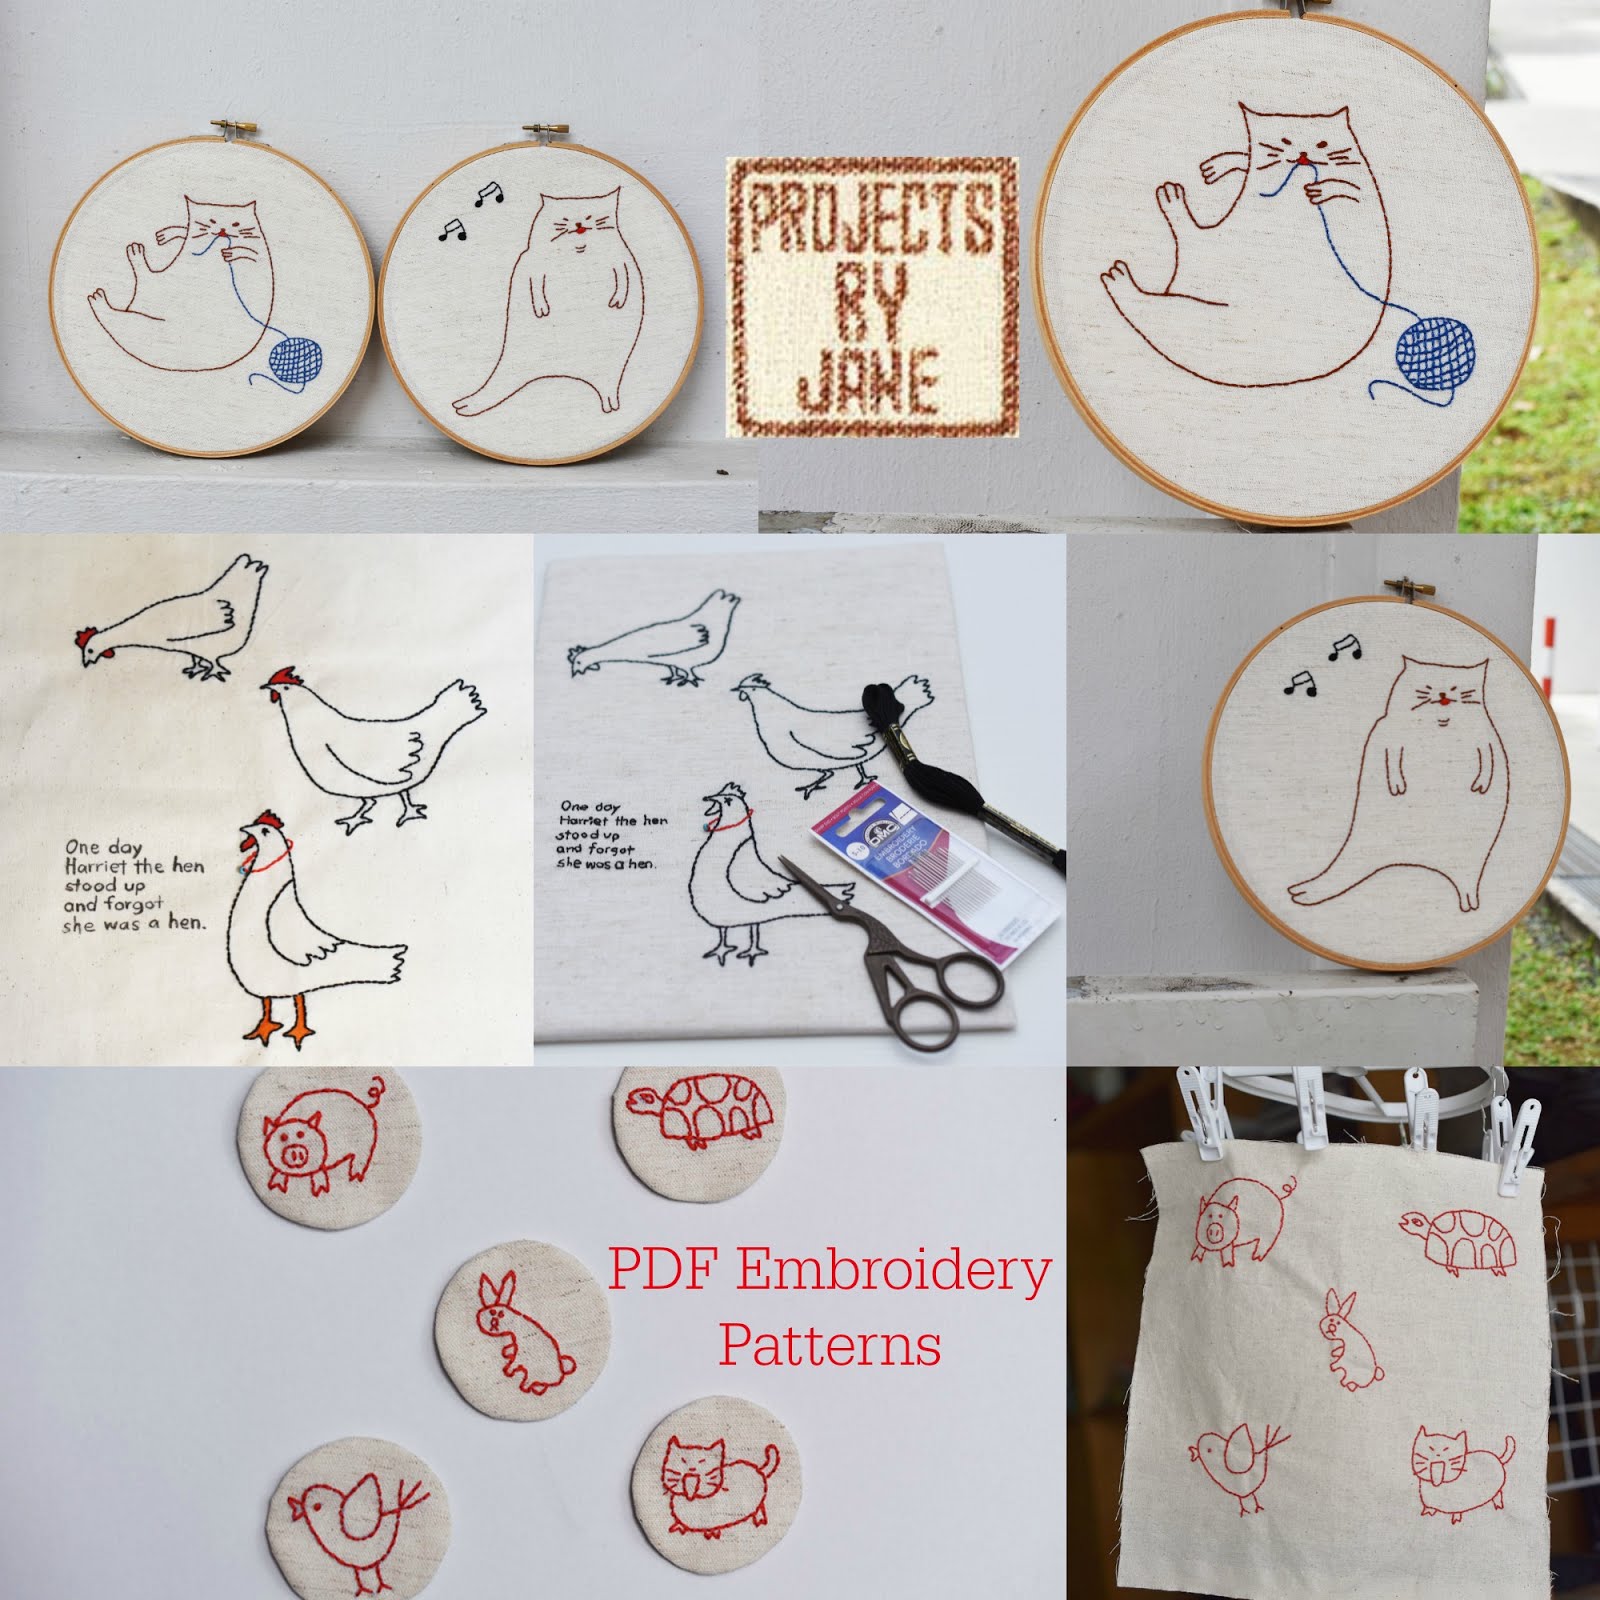
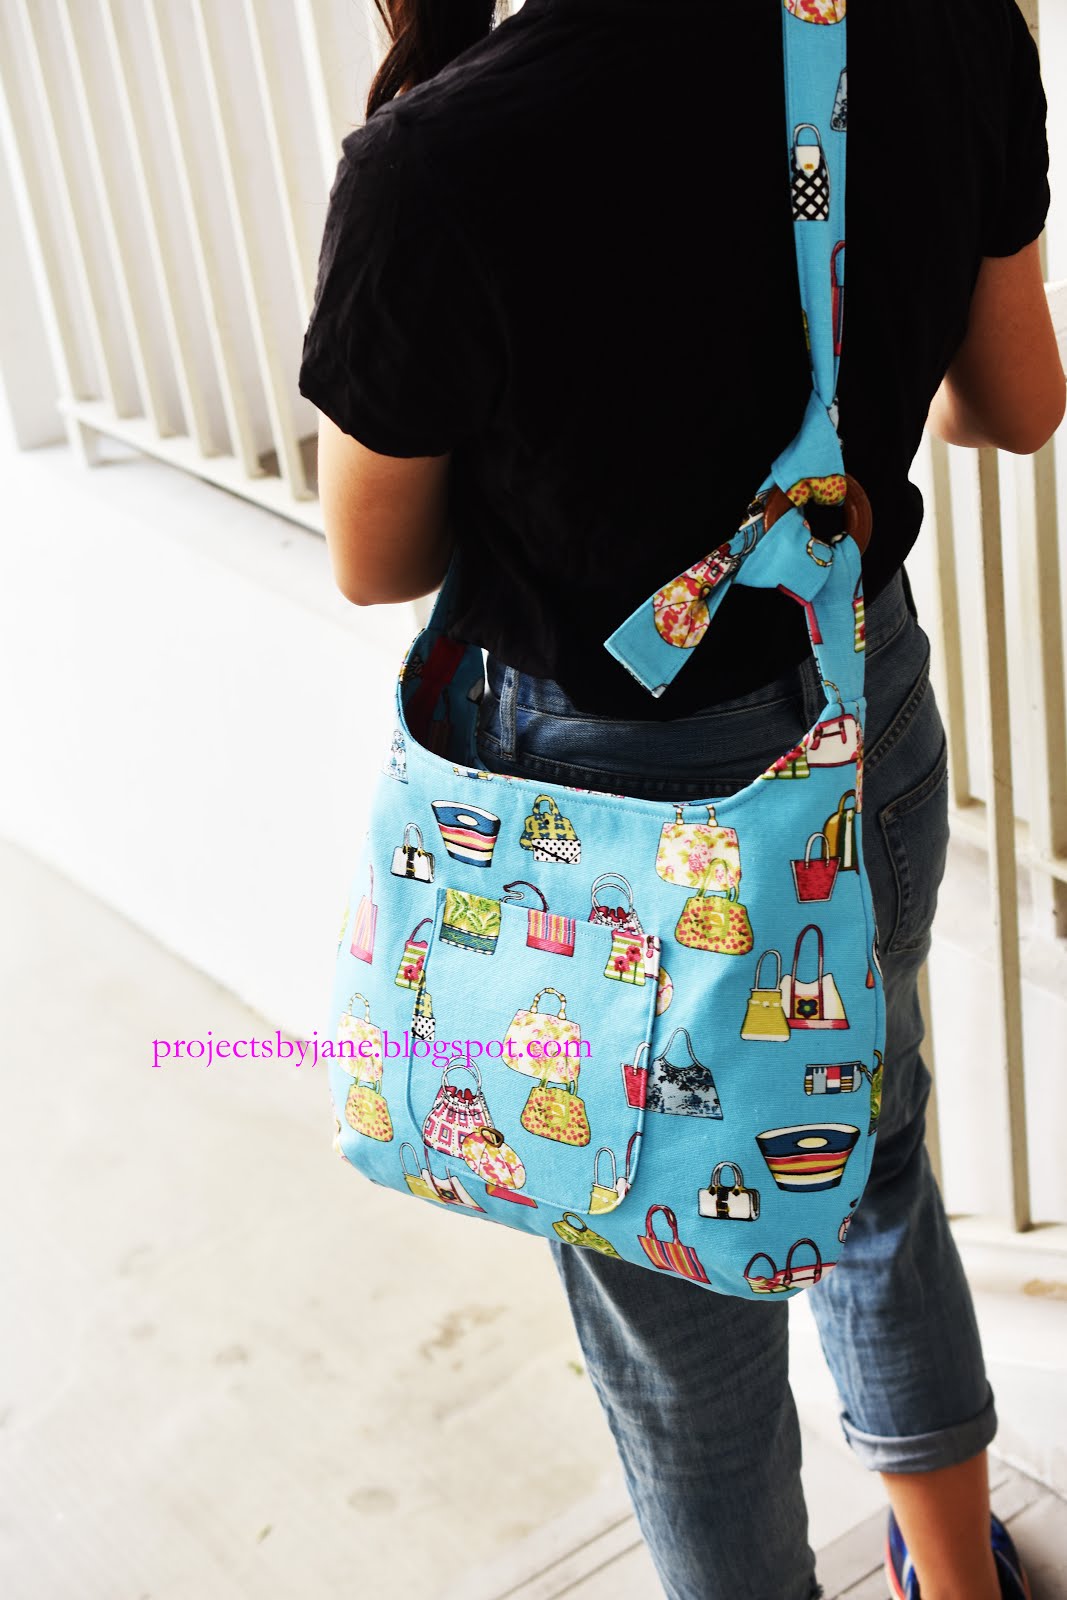
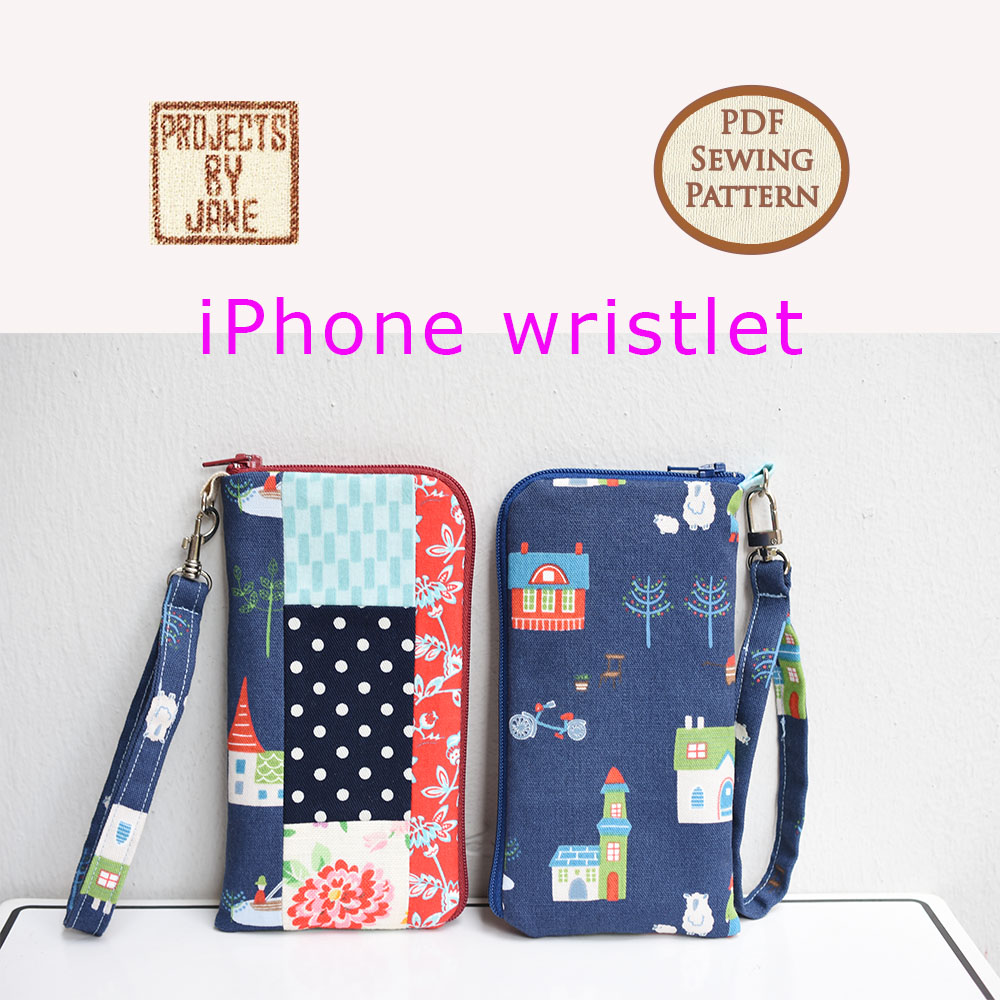
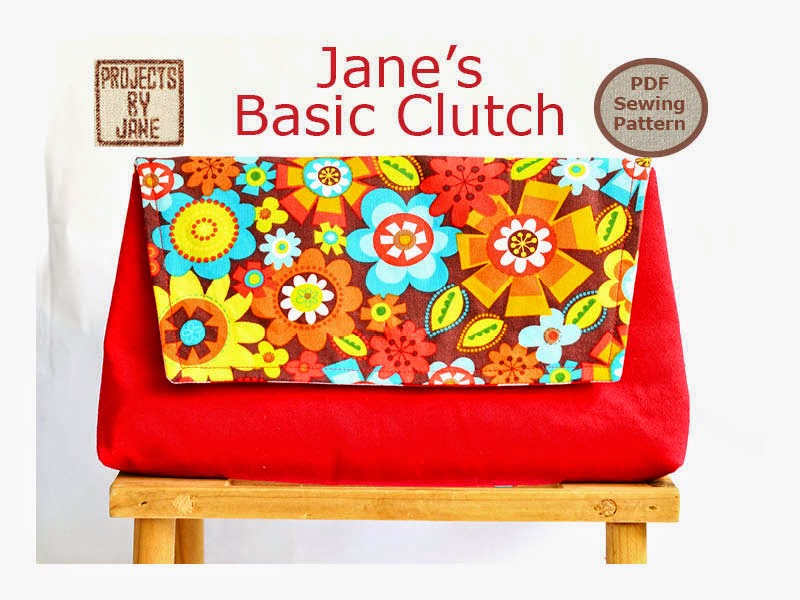
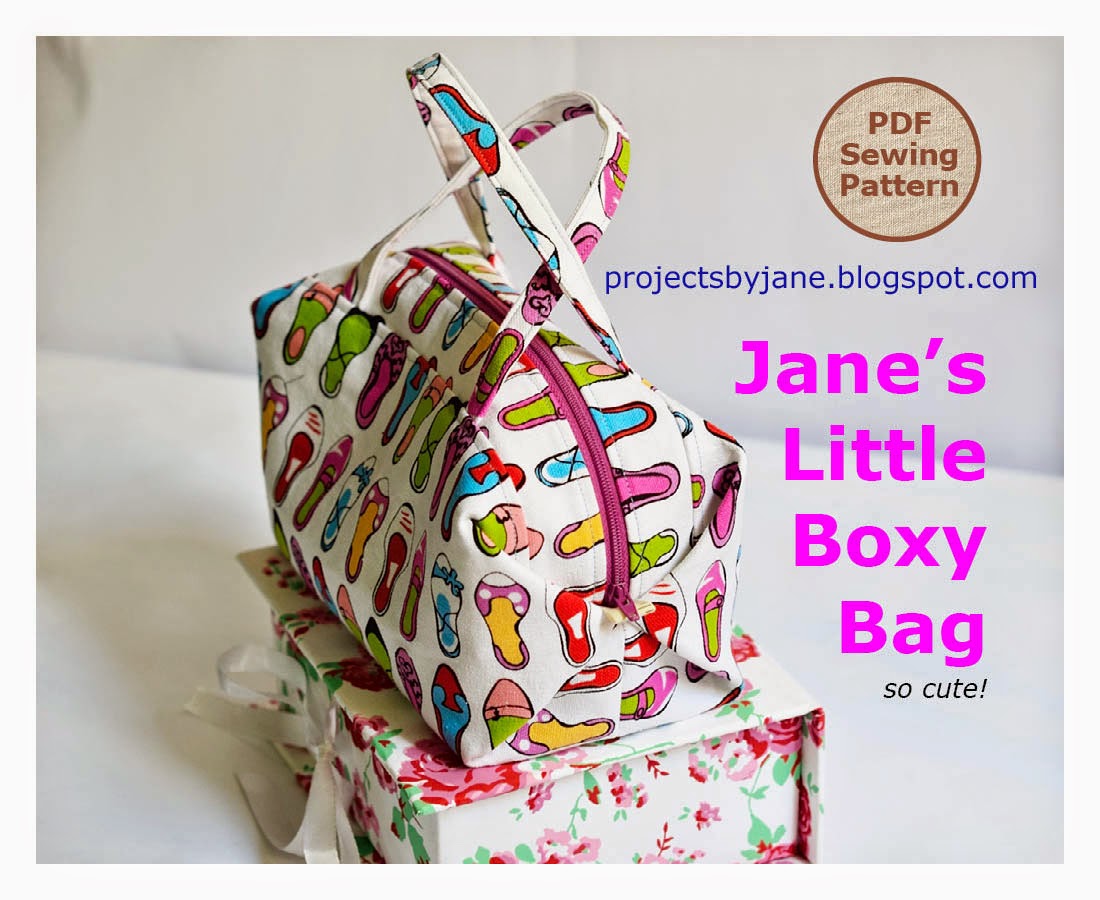
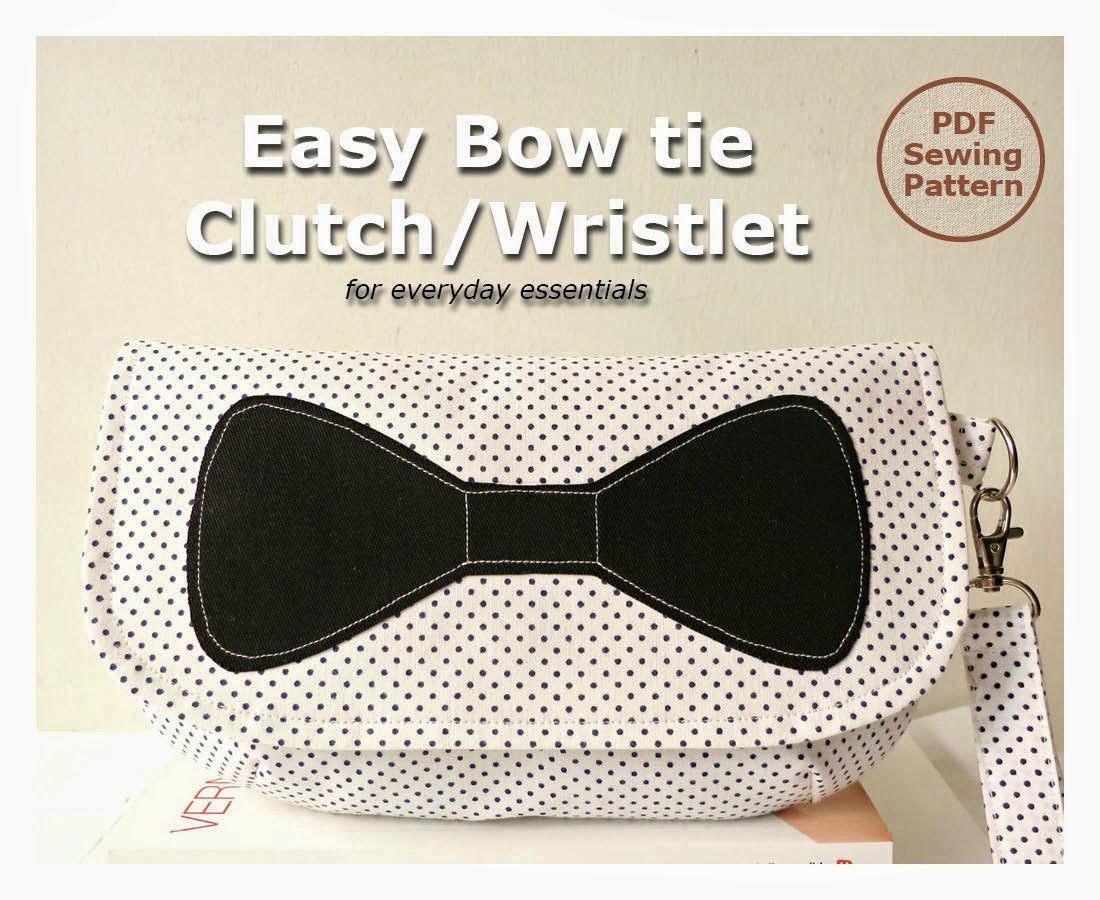
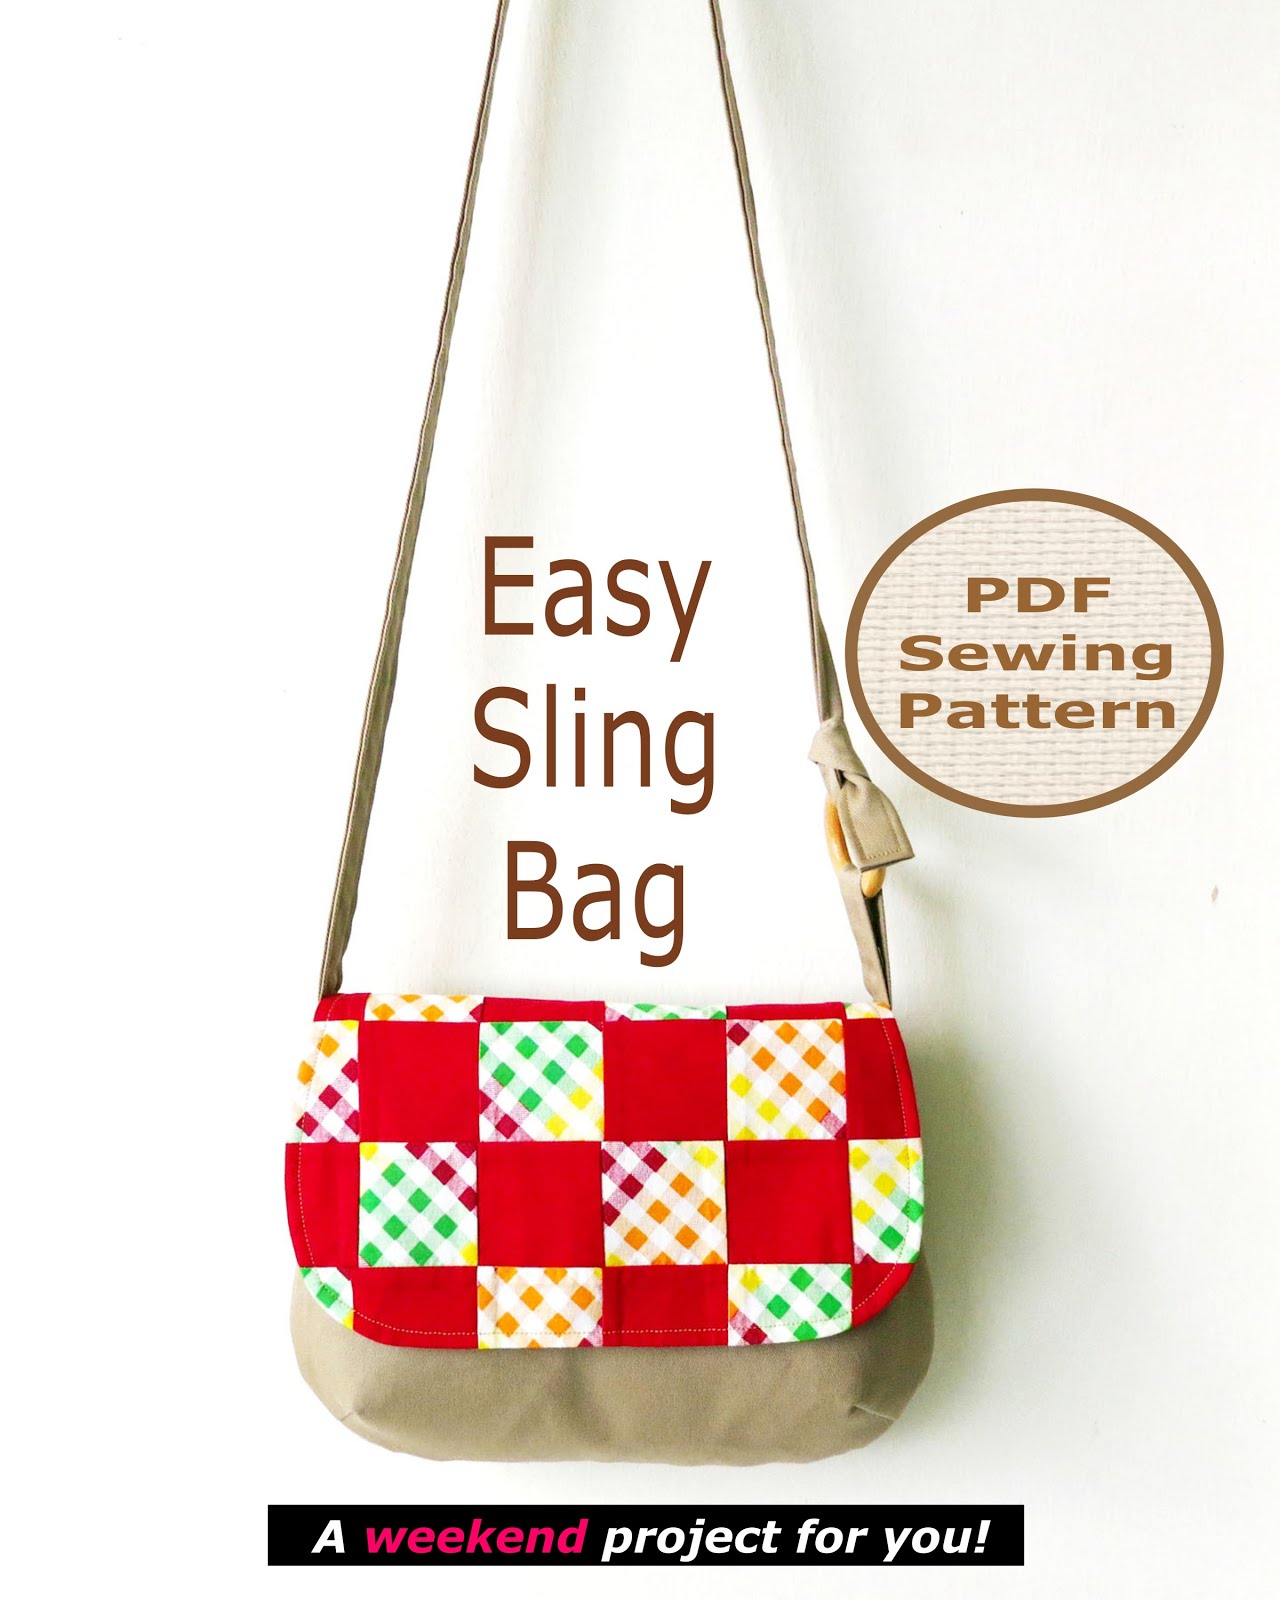
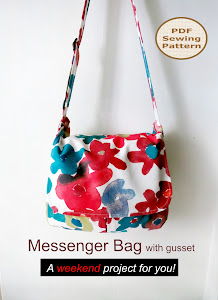
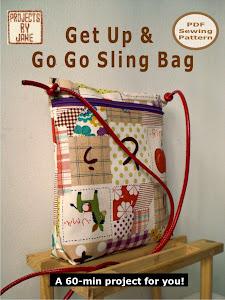
Below are my bag patterns which are available for sale at Etsy (instant download). Clicking on the images will take you to my Etsy shop.


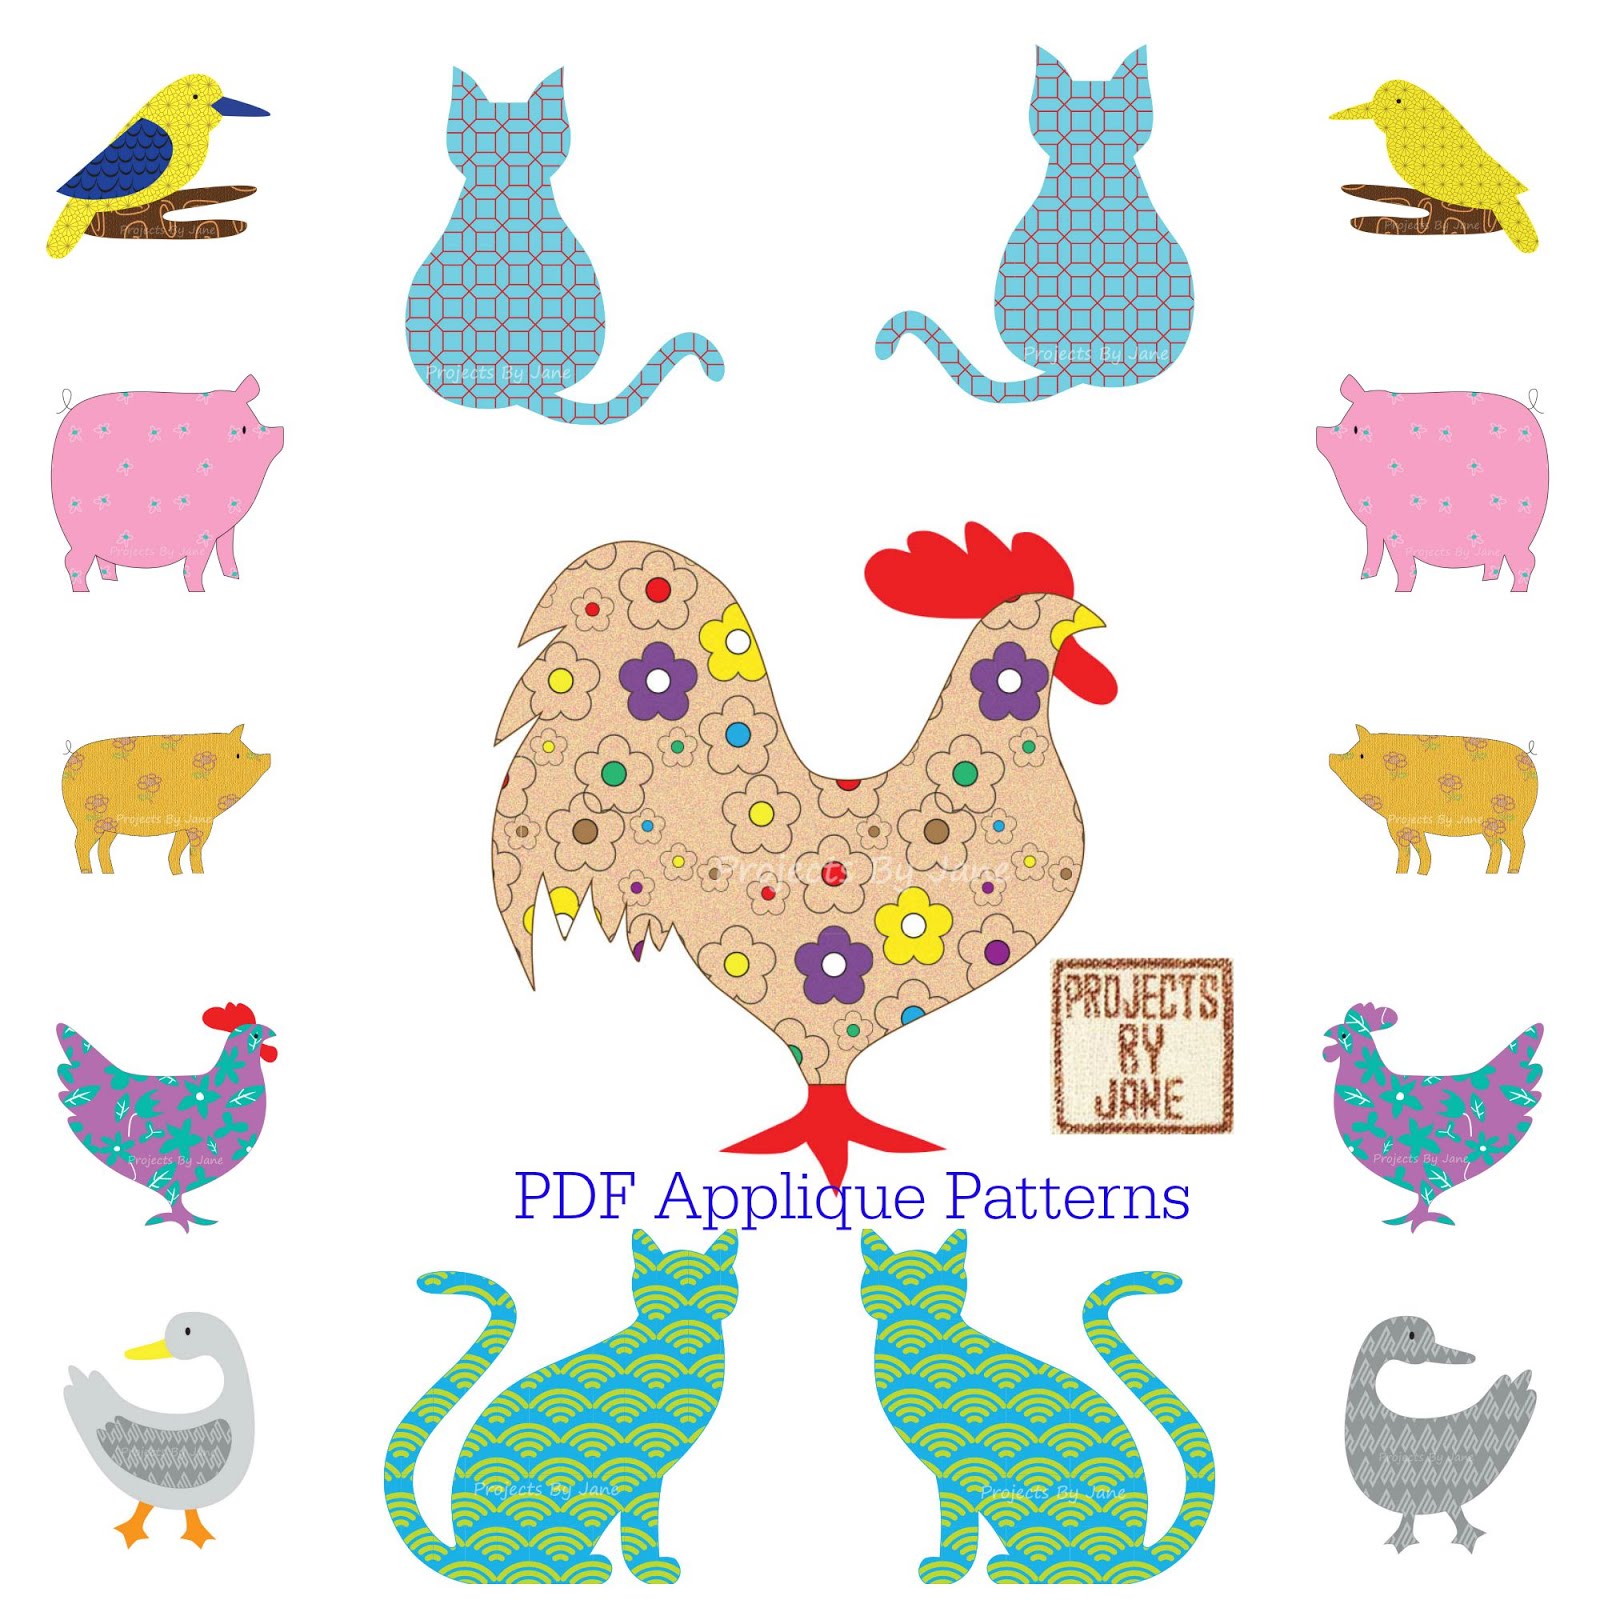
For more Applique Resources
For more Tutorials


26 comments:
I've seen this type of pouch before, but never where the seams were not exposed. Thank you for sharing!
hi pfirsch, thanks and i know what you mean. i'm on a mission to make bags without any exposed raw seams and when i figure how to do it, i just can't wait to shout out to the world. but many times i'm thinking maybe everyone already knows how to do it, except me. still, i'm going to churn out more tuts (i think that's what it's called now).
That is brilliant! Thank you so much for sharing your knowledge!
hi there,
i've include all ur bag tutorials in the site.
Thanks
Thank you for sharing your directions. I love to make bags as well, I find I use them more than 'store bought' bags. I love to have a selection and you've just given me one more to try.
Hey, Your tutorial is great!
I looked through a bunch of boxy pouch tutorials, and yours really stands out.
I haven't made it yet, I'm just trying to figure it out in my head; but I can't seem to figure out how to turn bag right side out after sewing the seam. do you mind explaining it to me?
Thanks so much!
Hi Michelle
For this boxy pouch, the outer fabric was in 1 piece but the lining was made using 2 pieces of fabric. Where the 2 pieces are joined, I left a small gap to turn right side out. I know it looks impossible from the photos, but once you make it, you'll know it works. This is a different way of making a pouch - the side seams of outer and lining are sewn together! Mind-blowing.
Btw, i've received a number of mail asking for help for this method. So I'll do a full tutorial when I can find the time.
Oh my goodness! you may have just saved me a lot of time leading up to this Christmas. I wanted pouches where my seams don't show, but doing all 4 corners of the other kind of boxy pouch was taking a bit too much time. This has the bonus (to me) of looking a little like origami.
oooh, sarubobo zipper-pull?
Thanks so much!
Thank you for explaining it to me!
It makes a lot more sense now =]
thank you for the tutorial ..
I love the pattern also
Thank You Very much for Your excelent tutorial! I have done it!
Thanks so much for sharing this!! Love it. I had just found the boxy pouch tutorial ( unlined one) and thought I can make this lined. Then I got to the sew up side seams aahh??? Just winged it and the pouch came out ok, wise I had found your tutorial sooner though!!
I really admire this kind of pouch.I will try my best to do it..:-)
You are amazing, beeing shown this blog just made my day! I desperately hate raw seams and it looks like your blog will make my life lots easier! Thank you for that!
I will be an excited follower!
Oh, wow. You've no idea how many minutes total I've spent staring at a cosmetic bag in Target, wondering how to get those pleats! I sew a lot, but I could not figure out the logistics of that part to save my life! I actually contemplated buying it just to cut it apart at one point... Thankfully for my wallet, it sold before I made the decision. :-)
I made your bgoxy tutorial last night and it was great. Just to be clear - with this method I sew the lining and main fabric side seams all together in one go?
@Jo Maule
Yes, sew lining and main fabric side seams together. Did your sewing paradigm shift?
Hi! I´m from sweden and I saw your bags on google. I must say that I like your Boxy Pouchs´ very mutch!
/J
I love this! It looks like someone blew it up with air...so cute I can't wait to make it.
I've made 2 of these so far. Last night I left the outside fabric in one piece but I couldn't figure out how to topstitch the second side of the zipper so I ended up having to cut the fabric. Any advice? I'm sort of new to sewing. Thanks
@CuriousJess
No biggie. Does your sewing machine have free-arm sewing function?
If yes, just remove the attchment (looks like a container) and you should be able to sew your topstitch.
Free-arm was created to sew sleeves so topstitching a pouch shouldn't be a problem.
I've done it many times and it's possible. Just do it slowly, and most importantly, DO NOT sew onto other parts of the pouch
which might get in the way.
Jane
Hi. This tutorial is amazing - it has very clear pictures and instructions. I have linked you on my blog: http://mel-allwrappedup.blogspot.com.au/p/link-love-to-amazing-free-craft.html.
mel@allwrappedup
Hi, so cute!!!!
Thank you from Italy
Emanuela
IN STEP 4 - When you invert fold each the outside and the inside lining to sew the sides, do you sew through all layers across or sew across the outside ends and then the lining ends separately?
@shabby chic smart
i don't know which is step 4 but i'll make a guess what you're asking. and the answer is yes, sew through all layers. so make sure you have an escape route to turn right side out. (e.g. use 2 pieces for the lining and leave a gap)
The photos load fine with my browser. I've tried using 3 different computers and mobile phones as well. I will continue to monitor. Meanwhile, maybe you want to clear your cache? Might work.
Jane
Post a Comment